
-
Email:zhao@hyliec.cn
-
Tel:+86 311 85273988
-
WhatsAPP:8613931128750
-
 Afrikaans
 -
 Albanian
 -
 Amharic
 -
 Arabic
 -
 Armenian
 -
 Azerbaijani
 -
 Basque
 -
 Belarusian
 -
 Bengali
 -
 Bosnian
 -
 Bulgarian
 -
 Catalan
 -
 Cebuano
 -
 Corsican
 -
 Croatian
 -
 Czech
Czech -
 Danish
 -
 Dutch
Dutch -
 English
 -
 Esperanto
 -
 Estonian
 -
 Finnish
 -
 French
 -
 Frisian
 -
 Galician
 -
 Georgian
 -
 German
 -
 Greek
Greek -
 Gujarati
 -
 Haitian Creole
 -
 hausa
hausa -
 hawaiian
 -
 Hebrew
 -
 Hindi
Hindi -
 Miao
Miao -
 Hungarian
 -
 Icelandic
 -
 igbo
igbo -
 Indonesian
 -
 irish
irish -
 Italian
 -
 Japanese
 -
 Javanese
 -
 Kannada
 -
 kazakh
 -
 Khmer
Khmer -
 Rwandese
 -
 Korean
 -
 Kurdish
 -
 Kyrgyz
 -
 Lao
Lao -
 Latin
Latin -
 Latvian
 -
 Lithuanian
 -
 Luxembourgish
 -
 Macedonian
 -
 Malgashi
 -
 Malay
Malay -
 Malayalam
 -
 Maltese
 -
 Maori
Maori -
 Marathi
 -
 Mongolian
 -
 Myanmar
 -
 Nepali
 -
 Norwegian
 -
 Norwegian
 -
 Occitan
 -
 Pashto
 -
 Persian
 -
 Polish
 -
 Portuguese
 -
 Punjabi
 -
 Romanian
 -
 Russian
 -
 Samoan
 -
 Scottish Gaelic
 -
 Serbian
 -
 Sesotho
 -
 Shona
Shona -
 Sindhi
 -
 Sinhala
 -
 Slovak
 -
 Slovenian
 -
 Somali
 -
 Spanish
 -
 Sundanese
 -
 Swahili
 -
 Swedish
 -
 Tagalog
 -
 Tajik
Tajik -
 Tamil
Tamil -
 Tatar
Tatar -
 Telugu
 -
 Thai
Thai -
 Turkish
 -
 Turkmen
 -
 Ukrainian
 -
 Urdu
Urdu -
 Uighur
 -
 Uzbek
Uzbek -
 Vietnamese
 -
 Welsh
Welsh -
 Bantu
Bantu -
 Yiddish
 -
 Yoruba
 -
 Zulu
Zulu
Creating a Strong Fence Around Corners for Optimal Enclosure Design
The Art of Fencing Corners A Guide to Effective Post Placement
Fencing is an essential aspect of property management, whether it’s for agricultural purposes, security, or aesthetic appeal. One of the critical elements in erecting a fence is understanding how to place the posts correctly, particularly at corners. The integrity and longevity of your fence can depend significantly on how well you handle these corner posts.
Understanding the Importance of Corner Posts
Corner posts are crucial in any fencing system, acting as the anchor points that bear the tension of the entire fence line. When properly installed, they help maintain the fence's shape and ensure it can withstand the forces of wind, tension from wires, and pressure from surrounding elements. Without appropriately installed corner posts, your fence may sag, warp, or fail, necessitating costly repairs or replacement.
Choosing the Right Materials
Selecting the right materials for your corner posts is the first step toward a durable fence. Traditionally, wood, metal, or composite materials are used. Wooden posts, while aesthetically pleasing and easy to work with, require treatment to withstand rot and pests. Metal posts, such as steel or aluminum, offer superior durability and resistance to the elements. Composite materials combine the best of both worlds, providing strength while mimicking natural wood.
Calculating Post Placement
When placing corner posts, accurate measurement is key. The distance between posts generally depends on the type of fencing material being used; for example, woven wire may require posts to be placed 8 to 12 feet apart, while privacy fencing typically calls for a spacing of 6 to 8 feet. For corners, it is crucial to ensure that the angle is correct—usually 90 degrees—unless a different layout is desired. To mark your post locations accurately, it’s wise to use stakes and a string line.
Digging Post Holes
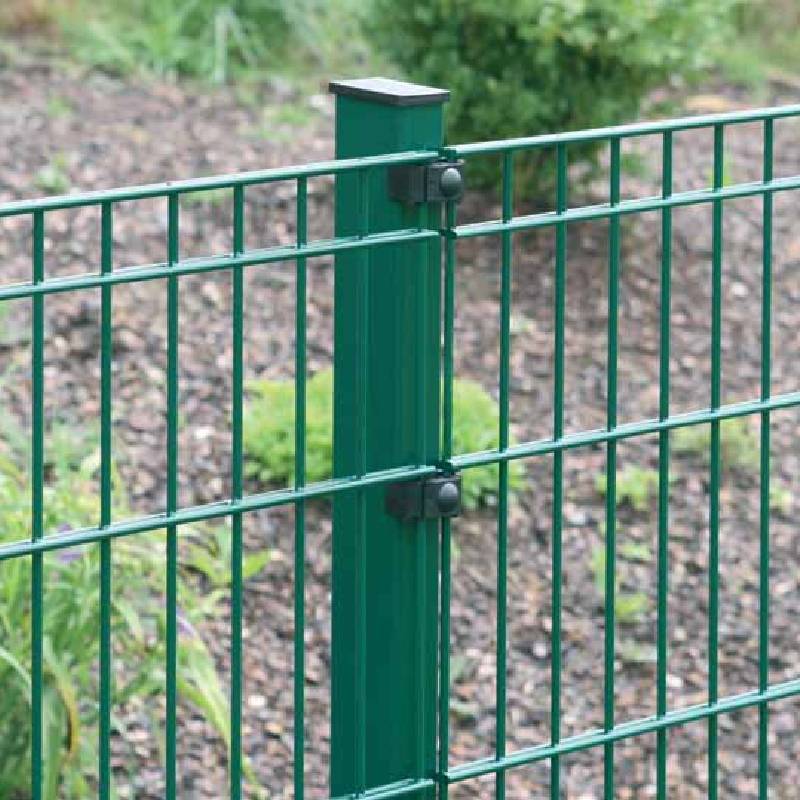
t post fence corners
The next step is to dig the post holes. Each hole should be approximately one-third of the post's length in depth and wide enough to allow for concrete or packing soil around the post. For standard wooden posts, a depth of 2-3 feet is advisable. Corner post holes may need to be deeper to accommodate additional stress from tension on the fencing line.
Installing Corner Posts
Once you’ve prepared your holes, it’s time to set the corner posts. Place the post in the center of the hole, ensuring it’s as vertical as possible. Use a level to check its alignment before pouring in concrete or packing soil around the post. If using concrete, mix it according to package instructions and fill the hole, then let it cure for at least 24-48 hours before attaching any fencing materials.
Adding Tension and Bracing
To further strengthen your fence corners, adding braces can provide additional support. Diagonal bracing from the post to the ground helps counteract lateral forces, preventing the post from leaning over time. Make sure to install these braces securely and consider using treated wood or metal for added durability.
Maintaining Your Fence
Once your fence is up, regular maintenance is essential. Check the corners periodically for any signs of wear, rot, or rust. Addressing these issues early can prevent larger problems down the line, keeping your fence sturdy and visually appealing.
Conclusion
In summary, fencing corners requires careful planning, the right materials, and proper installation techniques. By investing time and effort into positioning your corner posts correctly, you ensure the longevity and durability of your fencing. Whether you’re enclosing livestock, securing your home, or adding aesthetic value to your property, well-placed corner posts are indispensable for a successful fencing project.
-
Well Casing Extension Couplings – Applications and Installation
NewsMay.19,2025
-
Stylish Garden Gates for Sale – Enhance Your Outdoor Space
NewsMay.19,2025
-
Fencing Wire Roll Maintenance – How to Make It Last Longer
NewsMay.19,2025
-
Different Types of Fence Posts for Various Fencing Needs
NewsMay.19,2025
-
Creative Ways to Use Panel Fencing in Your Garden
NewsMay.19,2025
-
Plant Supports Wholesale
NewsMay.13,2025