-
E-mail:zhao@hyliec.cn
-
Tel:+86 311 85273988
-
WhatsApp:8613931128750
-
 african
 -
 albanez
 -
 amharică
 -
 arabic
 -
 armean
 -
 Azerbaidjan
 -
 bască
bască -
 belarusă
 -
 bengaleză
 -
 Bosniac
 -
 bulgară
 -
 catalan
 -
 Cebuano
 -
 corsicană
 -
 croat
croat -
 ceh
ceh -
 danez
danez -
 olandeză
 -
 Engleză
 -
 esperanto
 -
 estonă
 -
 finlandeză
 -
 limba franceza
 -
 frizonă
 -
 Galician
 -
 georgian
 -
 limba germana
 -
 greacă
 -
 Gujarati
 -
 creolul haitian
 -
 hausa
hausa -
 hawaian
 -
 ebraică
 -
 nu
nu -
 Miao
Miao -
 maghiară
 -
 islandez
 -
 igbo
igbo -
 indoneziană
 -
 irlandez
 -
 Italiană
 -
 japonez
 -
 javaneză
 -
 Kannada
 -
 kazah
kazah -
 Khmer
Khmer -
 ruandez
 -
 coreeană
 -
 kurdă
kurdă -
 Kârgâz
 -
 TB
TB -
 latin
latin -
 letonă
 -
 lituanian
 -
 luxemburghez
 -
 macedonean
 -
 Malgashi
 -
 Malaeză
 -
 Malayalam
 -
 malteză
 -
 maori
maori -
 marathi
 -
 mongol
 -
 Myanmar
 -
 nepaleză
 -
 norvegian
 -
 norvegian
 -
 occitană
 -
 Pashto
 -
 persană
 -
 Lustrui
 -
 portugheză
 -
 punjabi
 -
 Română
 -
 Rusă
Rusă -
 Samoan
 -
 gaelic scoțian
 -
 sârb
sârb -
 Engleză
 -
 Shona
Shona -
 Sindhi
 -
 Sinhala
 -
 slovacă
 -
 slovenă
 -
 somalez
 -
 Spaniolă
 -
 Sundaneza
 -
 Swahili
 -
 suedez
 -
 tagalog
 -
 Tadjik
 -
 tamil
tamil -
 tătar
tătar -
 Telugu
 -
 thailandez
 -
 turc
turc -
 turkmeni
 -
 ucrainean
 -
 Urdu
Urdu -
 Uighur
 -
 uzbec
uzbec -
 vietnamez
 -
 galeză
 -
 Ajutor
 -
 idiş
idiş -
 Yoruba
 -
 Zulu
Zulu
Porțile Grădinii
Cheap Garden Gates For Sale
You can find cheap garden gates for sale at various home improvement stores, online retailers, and local hardware shops. Consider looking for sales, clearance items, or second-hand options to find affordable garden gates that meet your needs. Additionally, exploring different types and sizes can help you find cost-effective solutions for your garden gate. Be sure to compare prices, quality, and reviews to make an informed decision.
Garden Gate Construction
1. Planning: Determine the location and dimensions of the gate, considering the width of the pathway or opening. Decide on the type of gate, such as a single or double gate, and the materials to be used.
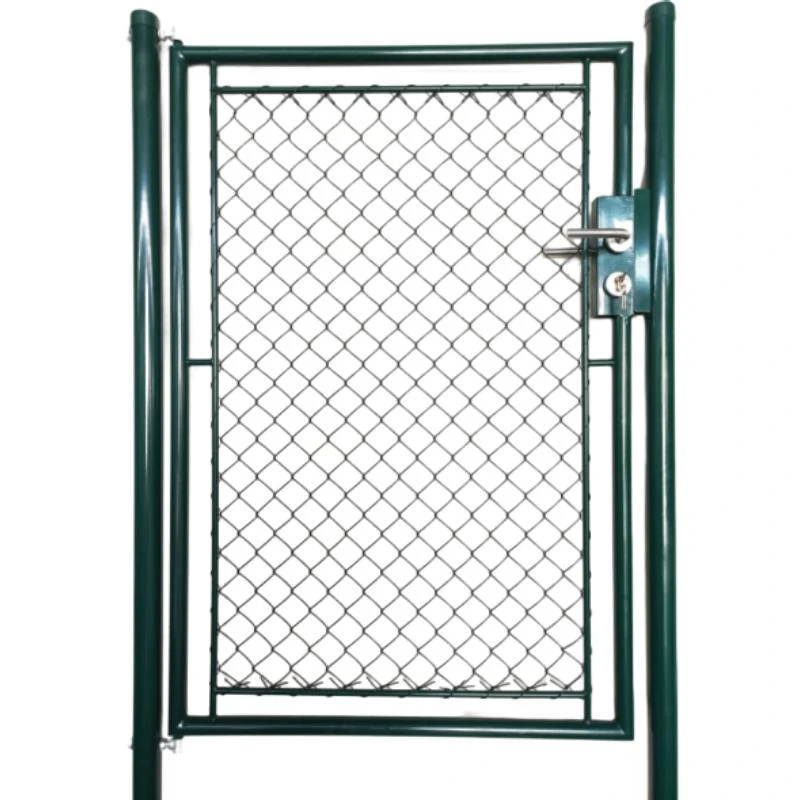
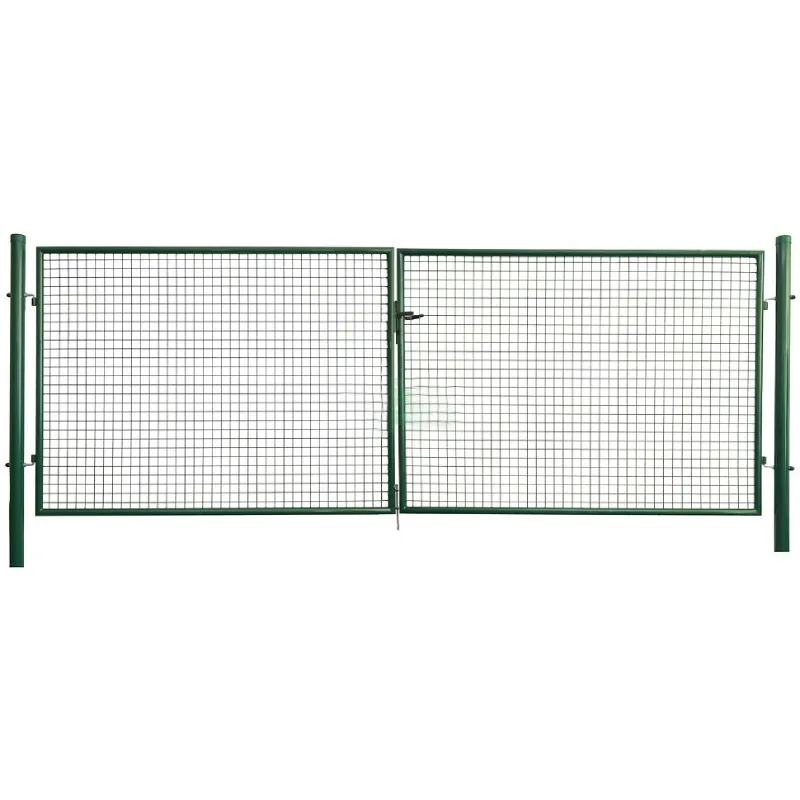
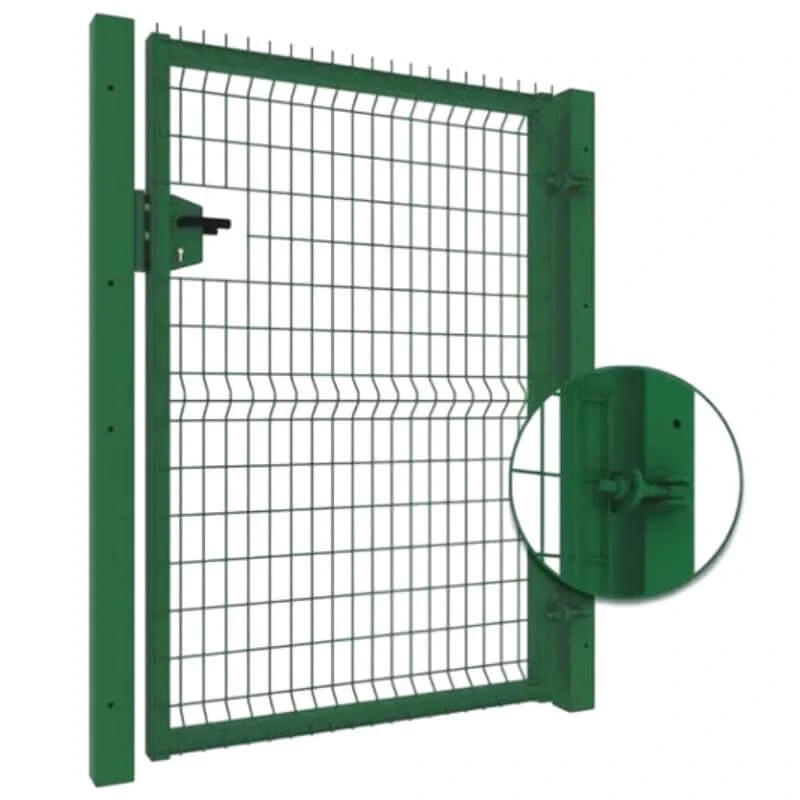
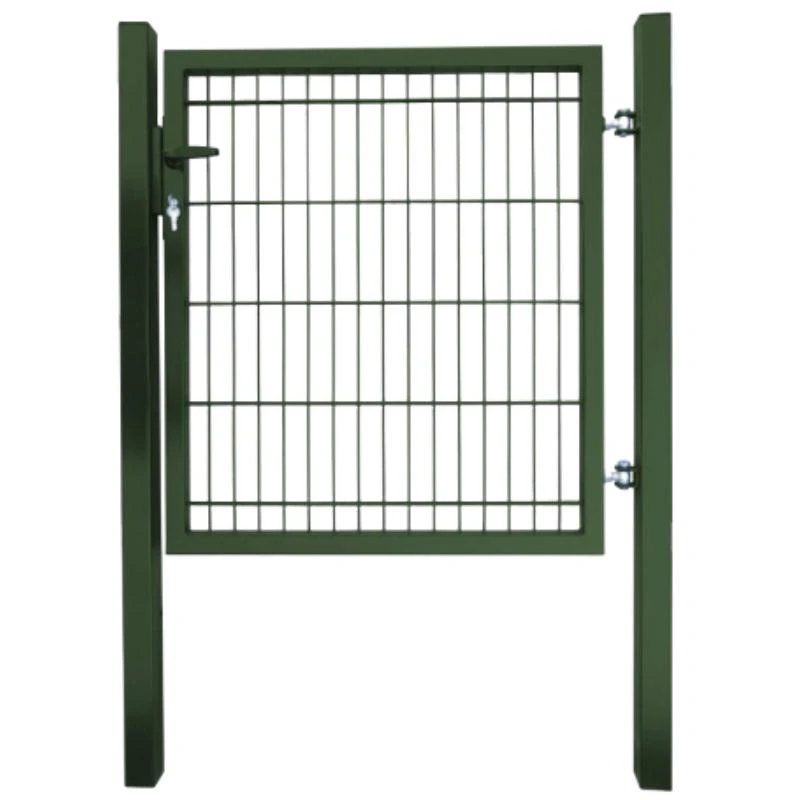
2. Materials: Select the appropriate types and sizes for the gate, such as round tube gates or square tube gates, single wing gates or double wings gates, ensure to meet requirements of maximum.
3. Frame assembly: Construct the frame of the gate using the chosen types and sizes . This may involve cutting and assembling the frame pieces, ensuring that they are square and level.
4. Adding infill: Depending on the design, add infill materials such as pickets, panels, or mesh to the gate frame. Secure the infill materials to the frame using appropriate fasteners.
5. Hardware installation: Install hinges, latches, and any additional hardware required for the gate to function properly. Ensure that the hardware is durable and suitable for outdoor use.
6. Finishing touches: Sand the gate to smooth any rough edges and apply a protective finish or paint to enhance its durability and appearance.
7. Installation: Once the gate is constructed, install it in the desired location, ensuring that it swings freely and latches securely.
It's important to follow any local building codes or regulations when constructing a garden gate, especially if it will be used as a boundary or security feature. If you're unsure about the construction process, consider consulting with a professional or seeking guidance from experienced individuals.


