-
Email:zhao@hyliec.cn
-
Tel:+86 311 85273988
-
WhatsAPP:8613931128750
-
 Afrikaans
 -
 Albanian
 -
 Amharic
 -
 Arabic
 -
 Armenian
 -
 Azerbaijani
 -
 Basque
 -
 Belarusian
 -
 Bengali
 -
 Bosnian
 -
 Bulgarian
 -
 Catalan
 -
 Cebuano
 -
 Corsican
 -
 Croatian
 -
 Czech
Czech -
 Danish
 -
 Dutch
Dutch -
 English
 -
 Esperanto
 -
 Estonian
 -
 Finnish
 -
 French
 -
 Frisian
 -
 Galician
 -
 Georgian
 -
 German
 -
 Greek
Greek -
 Gujarati
 -
 Haitian Creole
 -
 hausa
hausa -
 hawaiian
 -
 Hebrew
 -
 Hindi
Hindi -
 Miao
Miao -
 Hungarian
 -
 Icelandic
 -
 igbo
igbo -
 Indonesian
 -
 irish
irish -
 Italian
 -
 Japanese
 -
 Javanese
 -
 Kannada
 -
 kazakh
 -
 Khmer
Khmer -
 Rwandese
 -
 Korean
 -
 Kurdish
 -
 Kyrgyz
 -
 Lao
Lao -
 Latin
Latin -
 Latvian
 -
 Lithuanian
 -
 Luxembourgish
 -
 Macedonian
 -
 Malgashi
 -
 Malay
Malay -
 Malayalam
 -
 Maltese
 -
 Maori
Maori -
 Marathi
 -
 Mongolian
 -
 Myanmar
 -
 Nepali
 -
 Norwegian
 -
 Norwegian
 -
 Occitan
 -
 Pashto
 -
 Persian
 -
 Polish
 -
 Portuguese
 -
 Punjabi
 -
 Romanian
 -
 Russian
 -
 Samoan
 -
 Scottish Gaelic
 -
 Serbian
 -
 Sesotho
 -
 Shona
Shona -
 Sindhi
 -
 Sinhala
 -
 Slovak
 -
 Slovenian
 -
 Somali
 -
 Spanish
 -
 Sundanese
 -
 Swahili
 -
 Swedish
 -
 Tagalog
 -
 Tajik
Tajik -
 Tamil
Tamil -
 Tatar
Tatar -
 Telugu
 -
 Thai
Thai -
 Turkish
 -
 Turkmen
 -
 Ukrainian
 -
 Urdu
Urdu -
 Uighur
 -
 Uzbek
Uzbek -
 Vietnamese
 -
 Welsh
Welsh -
 Bantu
Bantu -
 Yiddish
 -
 Yoruba
 -
 Zulu
Zulu
Attaching Fence Panels to Posts
Attaching Fence Panels to Posts A Step-by-Step Guide
Building a fence can be a rewarding DIY project, enhancing both the aesthetics and security of your property. One of the most critical steps in this process is attaching fence panels to posts, which involves careful planning and execution. This article will guide you through the steps to ensure your fence panels are securely fixed to the posts, providing durability and stability.
Materials Needed
Before you begin, gather the necessary materials - Fence panels - Fence posts (wood, vinyl, or metal) - Concrete mix or gravel (if setting posts into the ground) - Level - Drill and screws (or nails) - Measuring tape - Saw (if adjustments are needed) - Safety goggles and gloves
Step 1 Planning and Preparation
Start by planning your fence layout. Measure the perimeter of the area where you want the fence to be installed. Use stakes and string to mark the corners and straight lines, ensuring that the posts will align correctly. Check local building codes or homeowners’ association guidelines regarding fence height and design before proceeding.
Step 2 Installing the Fence Posts
The first step in attaching fence panels is to install the fence posts. Dig holes for the posts that are about one-third the height of the post and at least 6 inches wider than the post itself. Place the posts in the holes and ensure they are vertical using a level. If you’re using wood posts, consider applying a wood preservative to the part that will be buried.
Fill the holes with concrete mix or gravel for added stability. Allow the concrete to set according to the manufacturer’s instructions, usually 24 to 48 hours, to ensure a strong foundation for the fence panels.
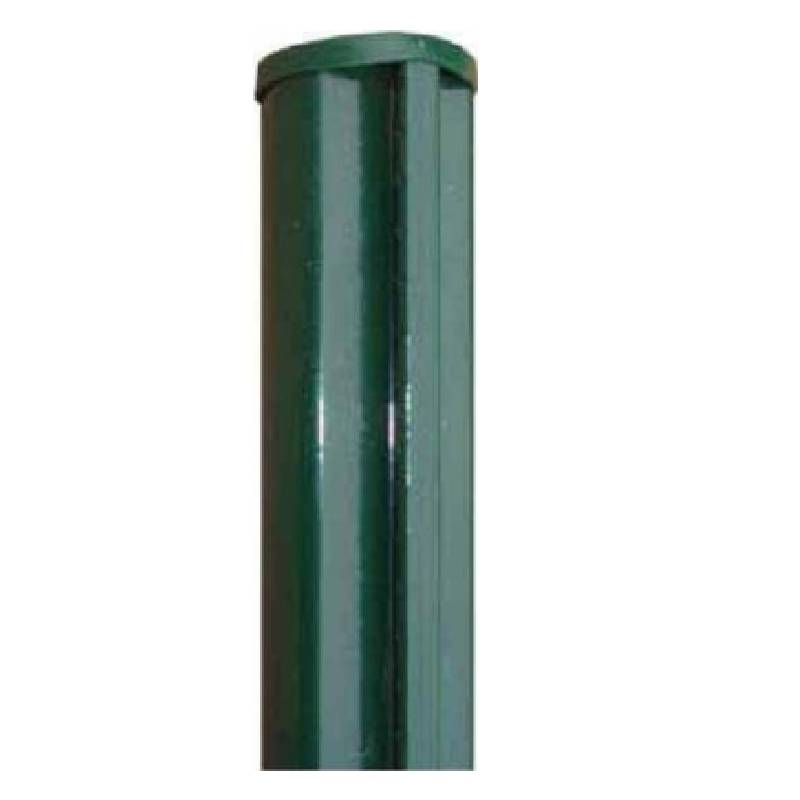
attaching fence panels to posts

Step 3 Attaching the Fence Panels
Once the posts are secure, it's time to attach the fence panels. Start by placing the first panel between two posts. Use a level to ensure the panel is straight. If your fence panels are pre-cut and ready to install, adjust them accordingly. For wood panels, you may need to trim them to fit.
Secure the panel to the posts using screws or nails. For wood panels, use corrosion-resistant screws to prevent rusting. Drill pilot holes first to prevent the wood from splitting, especially in denser materials. Ensure that you leave a small gap at the bottom of the panel if you live in a region prone to moisture, as this can help prevent wood rot.
Step 4 Final Adjustments
After all panels have been attached, step back and check the entire fence for any irregularities. Make adjustments as necessary to ensure that everything is aligned properly. Consider adding a top rail for additional support if you're using panels that are not already reinforced.
Step 5 Maintenance
Lastly, maintain your fence by regularly checking for loose panels or posts. Clean the panels and apply sealant or paint as needed to protect against the elements, ensuring the longevity of your fence.
Attaching fence panels to posts may seem daunting at first, but with the right materials and steps, you can create a sturdy and visually appealing structure that enhances your property’s value and charm. Happy fencing!
-
Secure Your Space with Double Wire Mesh Fences
NewsJun.20,2025
-
Modern and Stylish 3D Fencing Solutions
NewsJun.20,2025
-
Enhance Your Garden with Beautiful Border Fences
NewsJun.20,2025
-
Enhance Security with High-Quality Fencing Solutions
NewsJun.20,2025
-
Elevate Your Space with Elegant Fencing Solutions
NewsJun.20,2025
-
Durable and Secure Fencing Solutions
NewsJun.20,2025
