-
Email:zhao@hyliec.cn
-
Tel:+86 311 85273988
-
WhatsAPP:8613931128750
-
 Afrikaans
 -
 Albanian
 -
 Amharic
 -
 Arabic
 -
 Armenian
 -
 Azerbaijani
 -
 Basque
 -
 Belarusian
 -
 Bengali
 -
 Bosnian
 -
 Bulgarian
 -
 Catalan
 -
 Cebuano
 -
 Corsican
 -
 Croatian
 -
 Czech
Czech -
 Danish
 -
 Dutch
Dutch -
 English
 -
 Esperanto
 -
 Estonian
 -
 Finnish
 -
 French
 -
 Frisian
 -
 Galician
 -
 Georgian
 -
 German
 -
 Greek
Greek -
 Gujarati
 -
 Haitian Creole
 -
 hausa
hausa -
 hawaiian
 -
 Hebrew
 -
 Hindi
Hindi -
 Miao
Miao -
 Hungarian
 -
 Icelandic
 -
 igbo
igbo -
 Indonesian
 -
 irish
irish -
 Italian
 -
 Japanese
 -
 Javanese
 -
 Kannada
 -
 kazakh
 -
 Khmer
Khmer -
 Rwandese
 -
 Korean
 -
 Kurdish
 -
 Kyrgyz
 -
 Lao
Lao -
 Latin
Latin -
 Latvian
 -
 Lithuanian
 -
 Luxembourgish
 -
 Macedonian
 -
 Malgashi
 -
 Malay
Malay -
 Malayalam
 -
 Maltese
 -
 Maori
Maori -
 Marathi
 -
 Mongolian
 -
 Myanmar
 -
 Nepali
 -
 Norwegian
 -
 Norwegian
 -
 Occitan
 -
 Pashto
 -
 Persian
 -
 Polish
 -
 Portuguese
 -
 Punjabi
 -
 Romanian
 -
 Russian
 -
 Samoan
 -
 Scottish Gaelic
 -
 Serbian
 -
 Sesotho
 -
 Shona
Shona -
 Sindhi
 -
 Sinhala
 -
 Slovak
 -
 Slovenian
 -
 Somali
 -
 Spanish
 -
 Sundanese
 -
 Swahili
 -
 Swedish
 -
 Tagalog
 -
 Tajik
Tajik -
 Tamil
Tamil -
 Tatar
Tatar -
 Telugu
 -
 Thai
Thai -
 Turkish
 -
 Turkmen
 -
 Ukrainian
 -
 Urdu
Urdu -
 Uighur
 -
 Uzbek
Uzbek -
 Vietnamese
 -
 Welsh
Welsh -
 Bantu
Bantu -
 Yiddish
 -
 Yoruba
 -
 Zulu
Zulu
Guide to Installing Chain Link Fence Using T Posts Effectively and Efficiently
Installing Chain Link Fence with T Posts
Installing a chain link fence with T posts is an effective way to enclose your yard, garden, or any other designated area. Chain link fences are durable, affordable, and versatile, making them a popular choice for property owners. In this article, we will walk you through the steps to install a chain link fence using T posts, ensuring you have a reliable boundary that enhances security and aesthetics.
1. Gather Your Materials and Tools
Before you begin your project, it’s essential to gather all necessary materials and tools. For this project, you will need
- Chain link fabric (the mesh) - T posts - T post clips - Fence tension wire (if needed) - Fence gates (if required) - Concrete mix (for post stability) - Post hole digger or auger - Level - Tape measure - Wire cutters - Hammer - Safety gloves
2. Plan and Mark the Fence Line
Start by planning the layout of your fence. Determine the perimeter and choose the best location for your fence. Use stakes and a string line to mark the corners and the line of the fence. Make sure to measure the distances accurately so that the chain link fabric fits perfectly within the posts.
Once the area is marked, it’s time to install the T posts. Start at a corner and use a post hole digger or auger to create holes for each T post. The holes should be about 2 feet deep for stability. Insert the T posts into the holes, ensuring they are straight and level. Backfill with concrete mix to secure the posts in place. Allow the concrete to cure as per the manufacturer’s instructions.
installing chain link fence with t posts

4. Attach the Chain Link Fabric
After the T posts are set, it’s time to attach the chain link fabric. Unroll the chain link fabric along the fence line, making sure it aligns with the T posts. Use the tension wire to stabilize the bottom of the fabric. Start at one end and begin attaching the chain link fabric to the T posts using the T post clips. Place a clip every 12 inches to ensure the fabric is securely held in place.
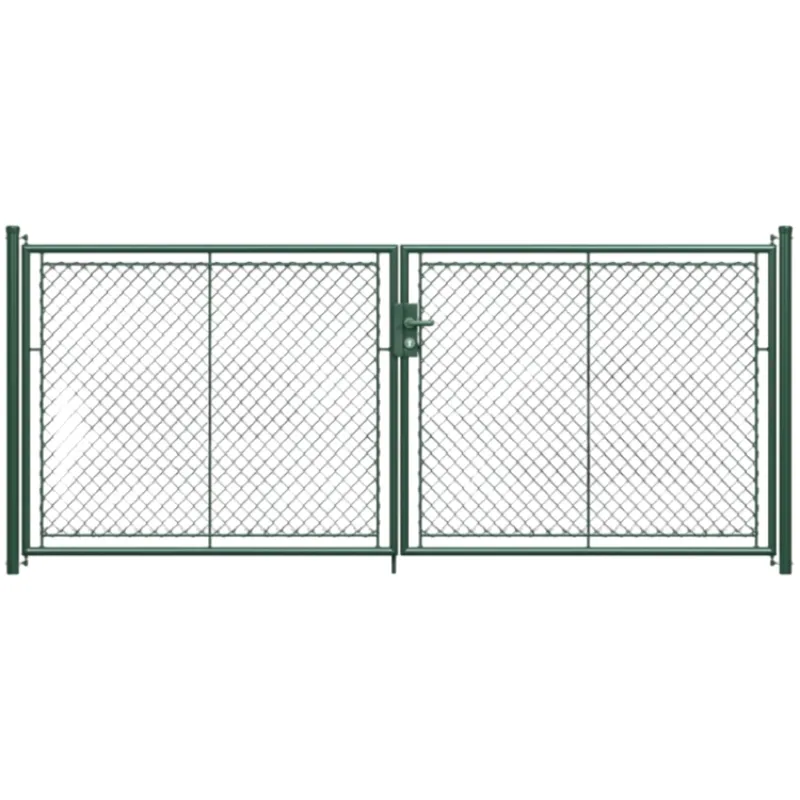
5. Install Gates (if necessary)
If your fence design includes a gate, position the gate frame between two T posts. Follow the manufacturer’s instructions for installing the gate. Ensure it swings freely and is properly aligned with the chain link fabric.
6. Finishing Touches
Once the chain link fabric is secured and gates are installed, inspect the entire fence for any loose areas. Adjust the tension wire if necessary. Trim any excess chain link fabric using wire cutters to achieve a clean finish. You may also want to consider installing a top rail for additional stability and a polished look.
Conclusion
Installing a chain link fence with T posts is a manageable DIY project that offers many benefits. The process requires careful planning, the right materials, and attention to detail. Once completed, your fence will provide the privacy and security you desire while enhancing the overall look of your property. Whether you’re creating a safe space for pets or a boundary for a garden, this fence will serve its purpose well for years to come. Happy fencing!
-
Secure Your Space with Double Wire Mesh Fences
NewsJun.20,2025
-
Modern and Stylish 3D Fencing Solutions
NewsJun.20,2025
-
Enhance Your Garden with Beautiful Border Fences
NewsJun.20,2025
-
Enhance Security with High-Quality Fencing Solutions
NewsJun.20,2025
-
Elevate Your Space with Elegant Fencing Solutions
NewsJun.20,2025
-
Durable and Secure Fencing Solutions
NewsJun.20,2025
