-
Email:zhao@hyliec.cn
-
Tel:+86 311 85273988
-
WhatsApp pawg:8613931128750
-
 Neeg African
 -
 Albanian
 -
 Amharic
 -
 Arabic
 -
 Armenian
 -
 Azerbaijani
 -
 Basque
 -
 Belarusian
 -
 Bengali
 -
 Bosnian
 -
 Bulgarian
 -
 Catalan
 -
 Cebuano
 -
 Corsican
 -
 Croatian
 -
 Czech
Czech -
 Danish
 -
 Dutch
Dutch -
 Lus Askiv
 -
 Esperanto
 -
 Estonian
 -
 Finnish
 -
 Fabkis
 -
 Frisian
 -
 Galician
 -
 Georgian
 -
 German
 -
 Greek
Greek -
 Gujarati
 -
 Haitian Creole
 -
 haus
haus -
 hawaiian
 -
 Hebrew
 -
 Tsis yog
 -
 Miao
Miao -
 Hungarian
 -
 Icelandic
 -
 ib igbo
 -
 Indonesian
 -
 irish
irish -
 Italian
 -
 Nyiv
Nyiv -
 Javanese
 -
 Kannada
 -
 kazakh
 -
 Khmer
Khmer -
 Rwandan
 -
 Kauslim
 -
 Kurdish
 -
 Kyrgyz
 -
 TB
TB -
 Latin
Latin -
 Latvian
 -
 Lithuanian
 -
 Luxembourgish
 -
 Macedonian
 -
 Malgashi
 -
 Malay
Malay -
 Malayalam
 -
 Maltese
 -
 Maori
Maori -
 Marathi
 -
 Mongolian
 -
 Myanmar
 -
 Nepali
 -
 Norwegian
 -
 Norwegian
 -
 Occitan
 -
 Pashto
 -
 Persian
 -
 Polish
 -
 Portuguese
 -
 Punjabi
 -
 Romanian
 -
 Lavxias
 -
 Samoan
 -
 Scottish Gaelic
 -
 Serbian
 -
 Lus Askiv
 -
 Shona
Shona -
 Sindhi
 -
 Sinhala
 -
 Slovak
 -
 Slovenian
 -
 Somali
 -
 Spanish
 -
 Sundanese
 -
 Swahili
 -
 Swedish
 -
 Tagalog
 -
 Tajik
Tajik -
 Tamil
Tamil -
 Tatar
Tatar -
 Telugu
 -
 Thaib
Thaib -
 Turkish
 -
 Turkmen
 -
 Ukrainian
 -
 Urdu
Urdu -
 Uighur
 -
 Uzbek
Uzbek -
 Nyab Laj
 -
 Welsh
Welsh -
 Pab
Pab -
 Yiddish
 -
 Yoruba
 -
 Zulu
Zulu
Fencing Hauv Yob
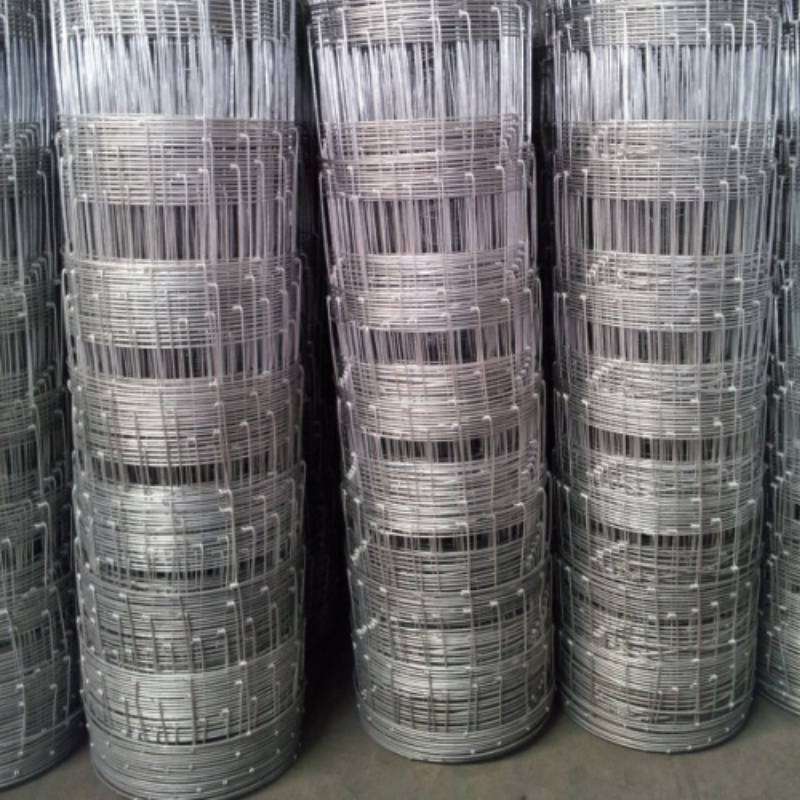
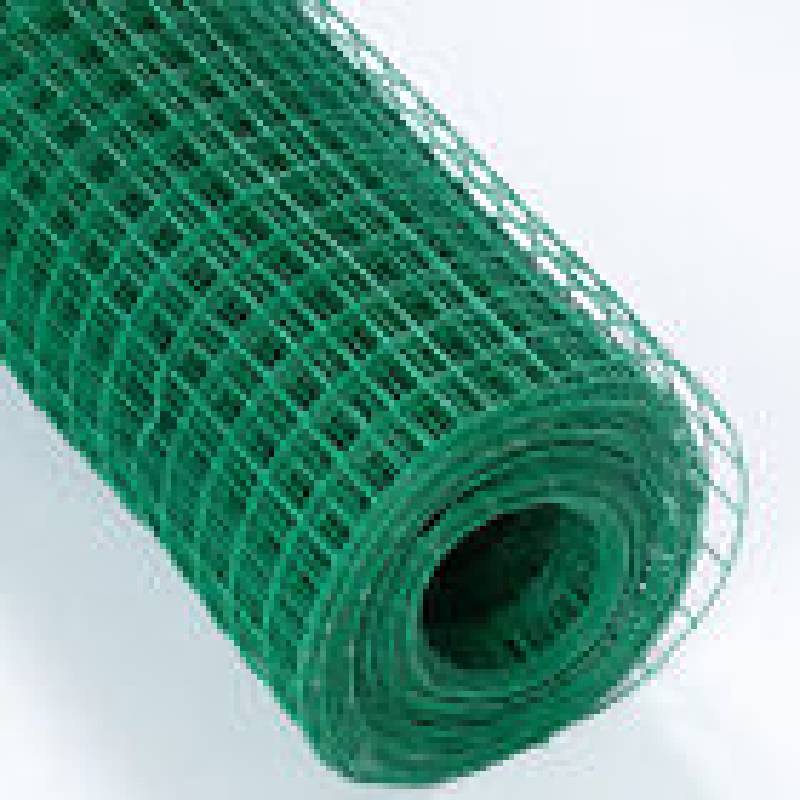
What Is A Roll Top Fence?
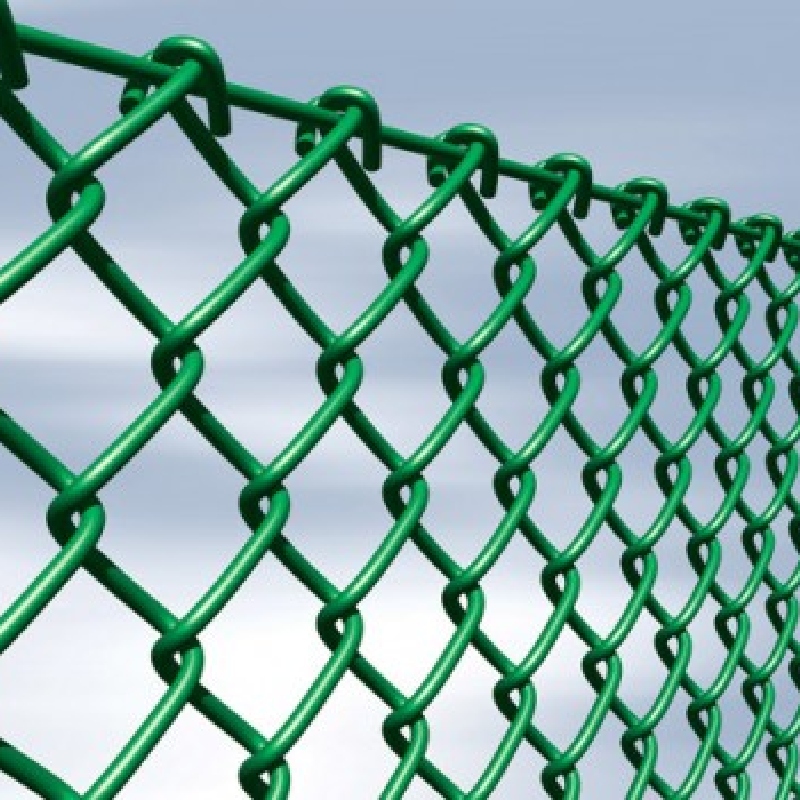
A roll top fence is a type of fencing that features a unique design with a rolled or rounded top and bottom. This design not only provides an aesthetically pleasing look but also adds an extra layer of safety by eliminating sharp edges. The roll top fence is often used in areas where safety and security are important, such as schools, playgrounds, and public spaces. It is also popular for use in residential settings where a decorative yet secure fencing option is desired. The roll top design makes the fence difficult to climb, enhancing its security features. Additionally, the smooth, rounded edges reduce the risk of injury, making it a suitable choice for areas frequented by children or pets.
How To Straighten Rolled Fencing?
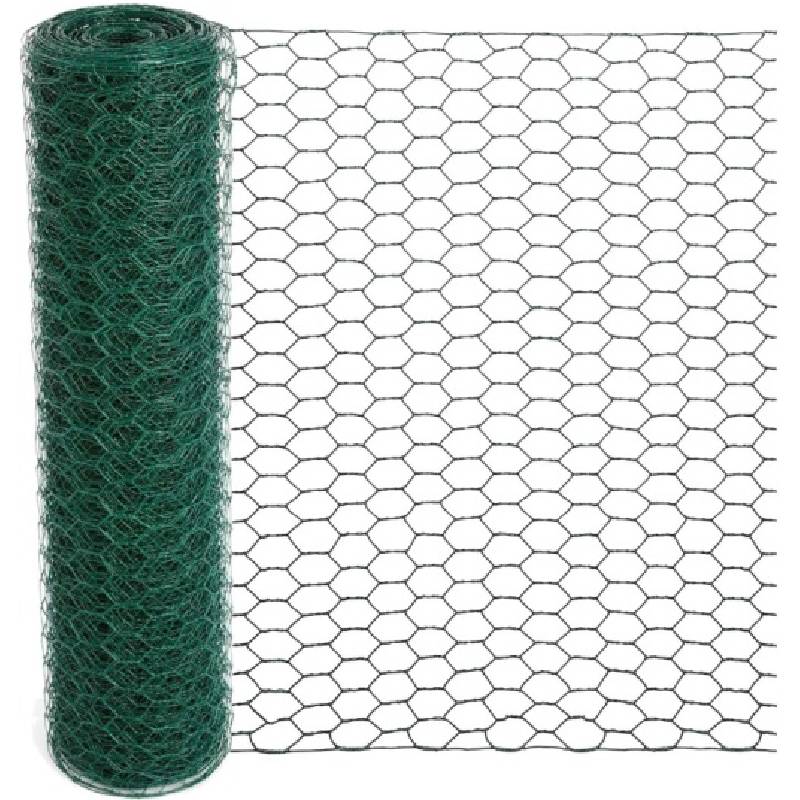
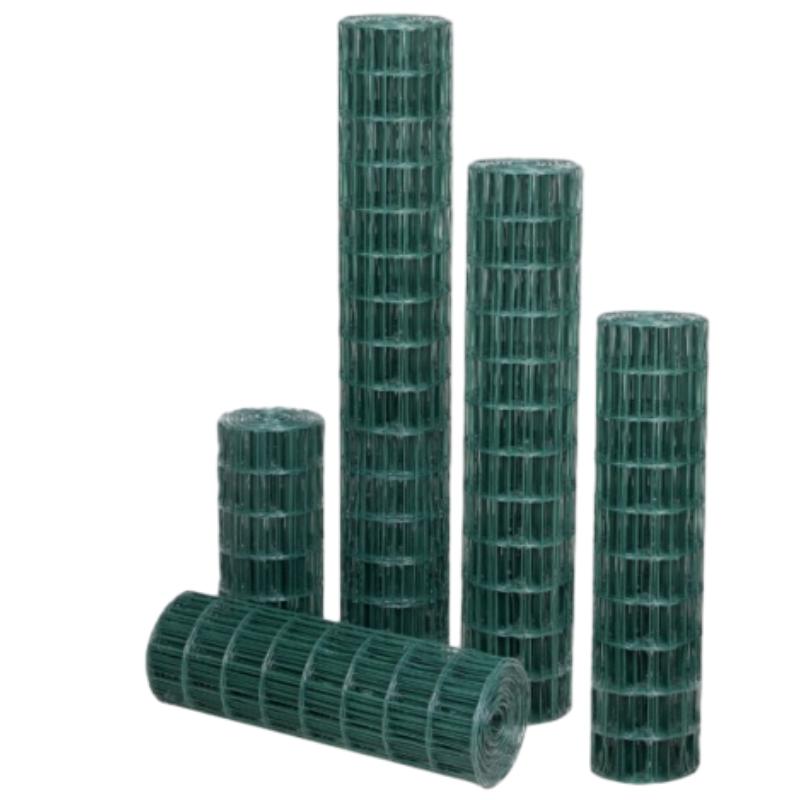
1. Unroll the fencing: Lay the rolled fencing flat on the ground, ensuring that it is fully extended.
2. Remove kinks and bends: Carefully inspect the fencing for any kinks, bends, or irregularities. Use your hands to gently straighten out any visible deformities in the fencing material.
3. Apply tension: If the fencing is still not straight, you can apply tension to help straighten it out. Secure one end of the fencing to a fixed object, such as a post or a sturdy structure. Then, gently pull the other end of the fencing to remove any remaining kinks or bends.
4. Use weights: If the fencing is made of a flexible material, you can place heavy weights along the edges to help straighten it out. Allow the fencing to sit under the weights for a period of time to encourage it to regain its straight shape.
5. Consider heat: In some cases, applying gentle heat using a heat gun or warm water can help the fencing material become more pliable, making it easier to straighten out any deformities.
It's important to handle the fencing material carefully to avoid causing any damage during the straightening process. If the fencing is made of a specific material, such as vinyl or metal, be sure to follow the manufacturer's recommendations for straightening to avoid any potential damage to the material.


