-
Email:zhao@hyliec.cn
-
Tel:+86 311 85273988
-
WhatsAPP:8613931128750
-
 Afrikaans
 -
 Albanian
 -
 Amharic
 -
 Arabic
 -
 Armenian
 -
 Azerbaijani
 -
 Basque
 -
 Belarusian
 -
 Bengali
 -
 Bosnian
 -
 Bulgarian
 -
 Catalan
 -
 Cebuano
 -
 Corsican
 -
 Croatian
 -
 Czech
Czech -
 Danish
 -
 Dutch
Dutch -
 English
 -
 Esperanto
 -
 Estonian
 -
 Finnish
 -
 French
 -
 Frisian
 -
 Galician
 -
 Georgian
 -
 German
 -
 Greek
Greek -
 Gujarati
 -
 Haitian Creole
 -
 hausa
hausa -
 hawaiian
 -
 Hebrew
 -
 Hindi
Hindi -
 Miao
Miao -
 Hungarian
 -
 Icelandic
 -
 igbo
igbo -
 Indonesian
 -
 irish
irish -
 Italian
 -
 Japanese
 -
 Javanese
 -
 Kannada
 -
 kazakh
 -
 Khmer
Khmer -
 Rwandese
 -
 Korean
 -
 Kurdish
 -
 Kyrgyz
 -
 Lao
Lao -
 Latin
Latin -
 Latvian
 -
 Lithuanian
 -
 Luxembourgish
 -
 Macedonian
 -
 Malgashi
 -
 Malay
Malay -
 Malayalam
 -
 Maltese
 -
 Maori
Maori -
 Marathi
 -
 Mongolian
 -
 Myanmar
 -
 Nepali
 -
 Norwegian
 -
 Norwegian
 -
 Occitan
 -
 Pashto
 -
 Persian
 -
 Polish
 -
 Portuguese
 -
 Punjabi
 -
 Romanian
 -
 Russian
 -
 Samoan
 -
 Scottish Gaelic
 -
 Serbian
 -
 Sesotho
 -
 Shona
Shona -
 Sindhi
 -
 Sinhala
 -
 Slovak
 -
 Slovenian
 -
 Somali
 -
 Spanish
 -
 Sundanese
 -
 Swahili
 -
 Swedish
 -
 Tagalog
 -
 Tajik
Tajik -
 Tamil
Tamil -
 Tatar
Tatar -
 Telugu
 -
 Thai
Thai -
 Turkish
 -
 Turkmen
 -
 Ukrainian
 -
 Urdu
Urdu -
 Uighur
 -
 Uzbek
Uzbek -
 Vietnamese
 -
 Welsh
Welsh -
 Bantu
Bantu -
 Yiddish
 -
 Yoruba
 -
 Zulu
Zulu
installing chicken wire under fence
Installing Chicken Wire Under a Fence A Practical Guide
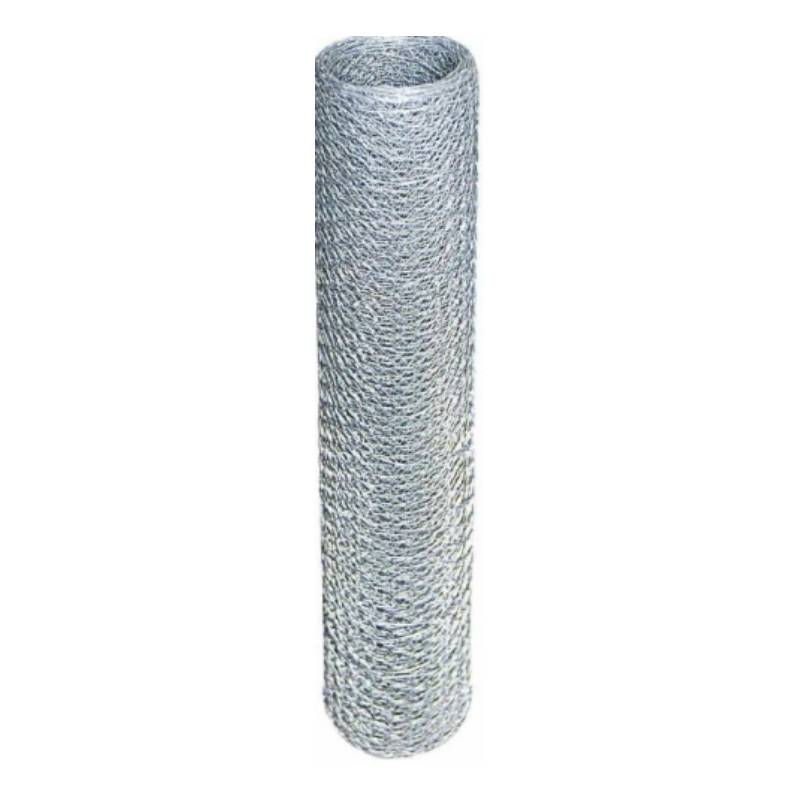
When it comes to protecting your garden or backyard from unwanted visitors, installing chicken wire under your fence can be an effective and straightforward solution. Whether it’s to keep out burrowing animals like rabbits and gophers or to prevent chickens from escaping, chicken wire serves as a sturdy barrier. Here, we will guide you through the process of installing chicken wire under a fence, ensuring that you have a secure setup that lasts.
Step 1 Gather Your Supplies
Before you start the installation, it’s crucial to gather all necessary materials. You will need chicken wire, landscape staples or stakes, a pair of wire cutters, a hammer, a measuring tape, and optional gloves for hand protection. Make sure to choose a high gauge chicken wire that is suitable for your needs, as this will enhance durability and effectiveness.
Step 2 Measure the Area
Begin by measuring the length of the fence line where you intend to install the chicken wire. This will help you determine how much wire you need to buy. Don't forget to consider the depth to which the wire will be buried, as you might want to extend it underground to prevent animals from digging underneath it.
Step 3 Prepare the Area
Next, clear the area beneath your fence. Remove any debris, plants, or rocks that might obstruct your installation. If your fence has any gaps or areas where animals could easily access the space under it, you may want to address these gaps first before installing the chicken wire.
Step 4 Cut the Chicken Wire
installing chicken wire under fence

Once you have your area prepared, unroll the chicken wire along the length of your measured area. Using your wire cutters, cut it to the appropriate length. A good rule of thumb is to make the chicken wire at least 12 inches tall if you plan to bury some of it underground.
Step 5 Install the Chicken Wire
Start at one end of the fence and lay the chicken wire flat along the ground. If you are burying it, dig a shallow trench that is approximately 3 to 6 inches deep along the fence line. Place the chicken wire in the trench, extending it up against the fence. If you are not burying it, simply press the wire flat against the ground next to the fence.
Using landscape staples or stakes, secure the wire to the ground. Hammer the staples into the ground at intervals to ensure it is firmly held in place. Be cautious of the sharp edges of the wire when handling it, and wear gloves if needed.
Step 6 Finishing Touches
To ensure maximum effectiveness, you can add additional soil or mulch around the edges of the chicken wire to camouflage it and create a more appealing aesthetic. Make sure to inspect the entire setup for any potential gaps or weaknesses that could allow animals through.
Conclusion
Installing chicken wire under a fence is a simple yet effective way to protect your property. By following these steps, you can safeguard your garden or chicken coop from unwanted intruders while also giving your chickens a safe area to roam. With a bit of effort and the right materials, you’ll have peace of mind knowing that your space is well protected. Happy gardening!
-
Garden Fence on a Roll: Versatile Solutions for Outdoor Enclosure and Decoration
NewsAug.22,2025
-
Fence Post Varieties: Essential Components for Durable Enclosures
NewsAug.22,2025
-
Garden Fence Panels: Blending Functionality and Aesthetic Appeal
NewsAug.22,2025
-
Tools for Fence: Essential Equipment for Garden Fence Installation and Maintenance
NewsAug.22,2025
-
Fence and Gate Accessories: Enhancing Functionality and Durability
NewsAug.22,2025
-
Metal Plant Supports: Essential Structures for Healthy Plant Growth
NewsAug.22,2025
