
-
Email:zhao@hyliec.cn
-
Tel:+86 311 85273988
-
WhatsAPP:8613931128750
-
 Afrikaans
 -
 Albanian
 -
 Amharic
 -
 Arabic
 -
 Armenian
 -
 Azerbaijani
 -
 Basque
 -
 Belarusian
 -
 Bengali
 -
 Bosnian
 -
 Bulgarian
 -
 Catalan
 -
 Cebuano
 -
 Corsican
 -
 Croatian
 -
 Czech
Czech -
 Danish
 -
 Dutch
Dutch -
 English
 -
 Esperanto
 -
 Estonian
 -
 Finnish
 -
 French
 -
 Frisian
 -
 Galician
 -
 Georgian
 -
 German
 -
 Greek
Greek -
 Gujarati
 -
 Haitian Creole
 -
 hausa
hausa -
 hawaiian
 -
 Hebrew
 -
 Hindi
Hindi -
 Miao
Miao -
 Hungarian
 -
 Icelandic
 -
 igbo
igbo -
 Indonesian
 -
 irish
irish -
 Italian
 -
 Japanese
 -
 Javanese
 -
 Kannada
 -
 kazakh
 -
 Khmer
Khmer -
 Rwandese
 -
 Korean
 -
 Kurdish
 -
 Kyrgyz
 -
 Lao
Lao -
 Latin
Latin -
 Latvian
 -
 Lithuanian
 -
 Luxembourgish
 -
 Macedonian
 -
 Malgashi
 -
 Malay
Malay -
 Malayalam
 -
 Maltese
 -
 Maori
Maori -
 Marathi
 -
 Mongolian
 -
 Myanmar
 -
 Nepali
 -
 Norwegian
 -
 Norwegian
 -
 Occitan
 -
 Pashto
 -
 Persian
 -
 Polish
 -
 Portuguese
 -
 Punjabi
 -
 Romanian
 -
 Russian
 -
 Samoan
 -
 Scottish Gaelic
 -
 Serbian
 -
 Sesotho
 -
 Shona
Shona -
 Sindhi
 -
 Sinhala
 -
 Slovak
 -
 Slovenian
 -
 Somali
 -
 Spanish
 -
 Sundanese
 -
 Swahili
 -
 Swedish
 -
 Tagalog
 -
 Tajik
Tajik -
 Tamil
Tamil -
 Tatar
Tatar -
 Telugu
 -
 Thai
Thai -
 Turkish
 -
 Turkmen
 -
 Ukrainian
 -
 Urdu
Urdu -
 Uighur
 -
 Uzbek
Uzbek -
 Vietnamese
 -
 Welsh
Welsh -
 Bantu
Bantu -
 Yiddish
 -
 Yoruba
 -
 Zulu
Zulu
Your Location:
Мар . 04, 2025 02:52
Back to list
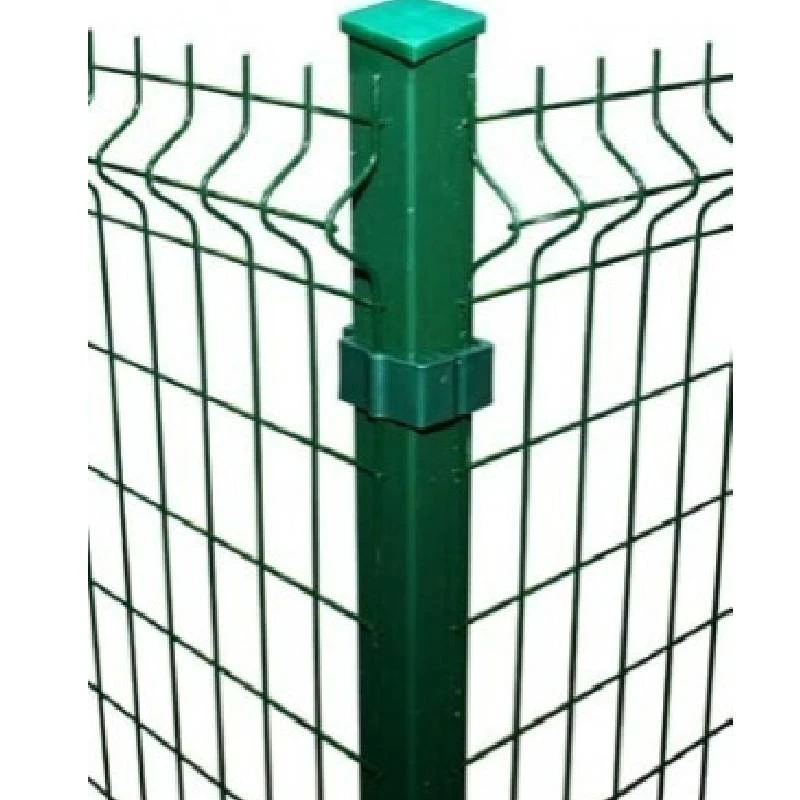
round fence posts
Installing round fence posts can transform any landscape, offering both functional and aesthetic benefits. With over two decades of experience in the field, I have refined a process that not only ensures durability but also enhances the ease of implementation. This guide embodies a culmination of expertise, seasoned practice, and trust, providing you with the quintessential steps to achieve a flawless installation.
Leveling and Alignment Use a reliable spirit level to confirm the vertical alignment of each post. Consistency in alignment ensures the overall aesthetic and functional integrity of the fence. Adjustments should be made before the concrete sets, allowing for access to meticulously verify the straightness with string lines and levels. Curing and Setting Allow a curing period of at least 24 to 48 hours for the concrete to set before applying any stress to the posts. This time allows the mixture to achieve maximum strength. During adverse weather conditions, longer curing times might be necessary. Finishing Touches Once your posts are firmly set, consider treating the exposed wood to enhance durability. Weatherproofing treatments and sealants act as an additional barrier against moisture, extending the life of the posts. Routine maintenance checks can also alert you to any potential issues before they escalate. Compliance and Safety Rigorous adherence to local zoning laws and regulations prevents future legal complications. Secure any necessary permits prior to commencement. Safety should remain a paramount concern throughout installation, with appropriate personal protective equipment (PPE) and safety guidelines strictly followed. By following these meticulous steps crafted from extensive experience, one can assuredly execute a successful round fence post installation. This guide not only highlights the technical precision required but also underscores the importance of trust and reliability inherent in such endeavors. With technical acumen and commitment to quality, achieving a robust and attractive fence is well within reach.

Leveling and Alignment Use a reliable spirit level to confirm the vertical alignment of each post. Consistency in alignment ensures the overall aesthetic and functional integrity of the fence. Adjustments should be made before the concrete sets, allowing for access to meticulously verify the straightness with string lines and levels. Curing and Setting Allow a curing period of at least 24 to 48 hours for the concrete to set before applying any stress to the posts. This time allows the mixture to achieve maximum strength. During adverse weather conditions, longer curing times might be necessary. Finishing Touches Once your posts are firmly set, consider treating the exposed wood to enhance durability. Weatherproofing treatments and sealants act as an additional barrier against moisture, extending the life of the posts. Routine maintenance checks can also alert you to any potential issues before they escalate. Compliance and Safety Rigorous adherence to local zoning laws and regulations prevents future legal complications. Secure any necessary permits prior to commencement. Safety should remain a paramount concern throughout installation, with appropriate personal protective equipment (PPE) and safety guidelines strictly followed. By following these meticulous steps crafted from extensive experience, one can assuredly execute a successful round fence post installation. This guide not only highlights the technical precision required but also underscores the importance of trust and reliability inherent in such endeavors. With technical acumen and commitment to quality, achieving a robust and attractive fence is well within reach.
Next: